Menu

 photo 1_zps84e06ae4.png  photo 2_zps659de009.png  photo 3_zps904ab323.png  photo 4_zpsaefaf15f.png  photo 5_zps3cf3a571.png  photo 7_zpsc515459f.png

Self portrait - Inside sessions


As a photographer, I keep creating and developing the look of my own work. Over the years I created my own techniques and actions on editing programs, such as Photoshop and Lightroom so it is easier for me to work on the post-processing. Very recently I found out that there is an amazing Photoshop pluggin called Alien Skin, a software with a different range of tools that really makes it easier to edit. There is a whole series of presets, pretty much like actions, but then you can manage the tones, the grain, the contrasts, and so and so. I got the Exposure, which works with the tones, blacks, whites... pretty much what I used to work on, but very intuitive and helpful. I'm satisfied. Besides, it helps creating the soft film look I adore.

Here's how it works. After you install the new pluggin, open your image on Photoshop and go to Filter - Alien Skin - Exposure. As you can see, I also got Snap Art, but all I need is Exposure. 


The the Exposure window will open and VOILÀ! magic happens. It is very easy to work with. you choose on the left (red circle) the option that fits your ideia the most and then you can change the tones and other options on the right. Pretty easy and simple.


With that being said, I decided to try it as an excuse to take new portraits of me with my new haircut. I spent hours trying working on so many options that I could not decide. Color, black and white, sepia... so many types. The color ones were my favorite.
It was also a nice excuse to work on some lightning techniques. I love how I keep learning everyday, wether it's about a new software or a new tool. I love photography and I love being self taught.

Here is the final result! Color with the touch of 90's film. I also decided this will be a new service I want to provide: timeless portraiture. Sue Bryce really inspires me on that. (Pardon the crappy quality, the resizing made that happen.)


A Rose with Love

No words needed. Also needless to say... a rose always puts a smile on my face. It's love.


Deserted Light


Lately I've been studying the mechanics of Editorial photography and for that I decided to try it myself. I've been more and more aware of the fashion industry lately, and discovered that we, photographers, can create beautiful stories using fashion as an accessory. 
So a few weeks ago, I gathered a professional team, willing to work with me and help me achieve this goal. I got an amazing model from the DXL Agency, Julieta Carvalho, the talented makeup artist Patricia Miranda and as for styling of course I had to count with Marta Dores, the owner of Despe&Veste, which I've been working for a year now.

There is not much I can tell you about this set, but it turned out just the way I thought it would be and my level of satisfaction raised above the average. I can't wait to show this editorial to the world! In the meantime, here's a little BTS video I did and a photo of me doing what I love the most.


"White Winter" by Despe&Veste Clothing


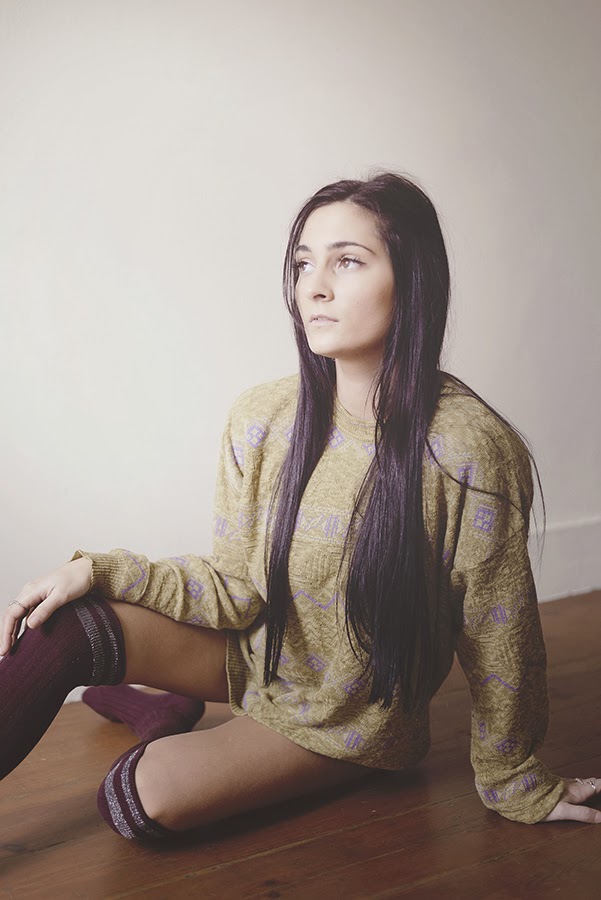
First indoors photoshoot and first photoshoot with my new Nikon d610! Exciting enough? Yes! And once again, I had the pleasure of working with Despe&Veste, and our lovely Mariana Marques as the model. 

It was a simple, intimate and soft shoot, since it was only for the display of new warm, vintage sweaters, and the location was at the new atelier of the brand itself, right in Lisbon's heart. It's beautiful, and the light coming from those windows was everything I ever wished for. 

It was a fun and satisfying photoshoot, and I am happy to say I am proud of myself. I've been dedication myself to my photography only and nothing makes me happier. 

Enough said, here it is!


Overwaters

This is something I was dying to do ever since I saw Rosie Hardy's portrait, half under water. Rosie is my favorite fine art and self portrait artist and she inspires me everyday to improve my digital/portrait skills. 

This was also the first time I photographed myself with my new Nikon D610 and oh my goodness, it is good. I couldn't stop shooting with the remote; it was so flawless while focusing and shooting, and the results were perfect shot after shot!


Here are the before/after shots. I have to remind myself to save more examples throughout the whole process. I had people come to me before and criticize (in a good way) me to show more of my digital processing.
So from now on I'll try to share more information about this. For now I got 3 steps. The first I just fixed the skin and made a list of what I needed to do next which was add more flowing hair (since it was going to be "under water"), turn the color more dull and dramatic, add curves and fix the tones, shadows and highlights. Then then next step was all about texture: the water, the inside/outside water line, the splashing, adding the tones I wanted (the green shades) and match everything together. At some point I counted 20 layers. Oh and take care of the weird hair thing. I know it doesn't look perfect but the water line would hide a little bit anyway. And then there's the final result. All together took me 4 hours, and I honestly didn't even noticed the time flying by.


Popular Posts